When you’re installing vinyl plank flooring, you want to make sure it’s done correctly the first time around. You don’t want to waste money or time having to redo it, and you don’t want any mistakes causing you to fix it years down the road. You may have heard that installing vinyl plank flooring was easy to do on your own, inexpensive, and simpler than dealing with porcelain tile or engineered wood. However, there are still some essential factors you need to know before you start.
When you’re installing vinyl plank flooring, you want to make sure it’s done correctly the first time around. You don’t want to waste money or time having to redo it, and you don’t want any mistakes causing you to fix it years down the road. You may have heard that installing vinyl plank flooring was easy to do on your own, inexpensive, and simpler than dealing with porcelain tile or engineered wood. However, there are still some essential factors you need to know before you start.

Buy more than you expect you need
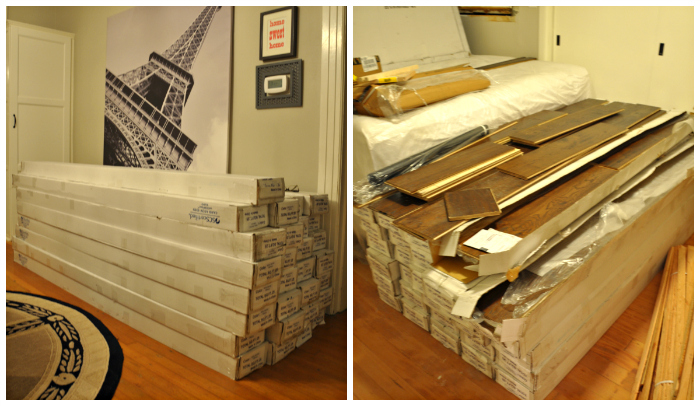
You want to buy just enough of plank vinyl flooring. Don’t buy more than you’ll need, as you’ll end up wasting money and supplies. However, if you buy too little of the material, you’ll delay the process, since you’ll have to wait to finish the job until you go back to the store. A good rule is to buy what you think you’ll need, plus one extra carton.
For example, if you have a small floor that is 115 square feet, and you’re looking at buying cartons that hold 20 square feet of flooring in each one, you’ll need six cartons, as this equals 120 square feet. You should then add an extra carton, so you have room in case of an error. However, don’t open it until you’re certain you need it, as most stores let you return unopened boxes and will give you a full refund.
Lay it out
Make an estimate of how long it will take you to complete this project. If you’re doing a bathroom that’s 120 square feet, you can estimate about three hours to finish it. However, this doesn’t include how long it will take to remove the toilet and then reinstall it. You can then take the planks out of the box and lay the first row down, so it’s parallel to your wall that’s most visible. From there, work outward with laying out your planks.
There will be a wall that’s more visible than others in every room, such as the one that’s along the bathtub in the bathroom. In this situation, the wall that’s least visible would be where the counter and vanity stand, since it’s mostly covered up. In the bathroom, put the first row of planks parallel to the wall by the bathtub, and work outward to the wall where the vanity and counter stand. It’s normal for the last row to be uneven, since it’s unlikely your room is actually square. Baseboards will cover this up in this case.
For rooms that aren’t square or large, you’ll want to put the first row of planks in the center of the room, and then work your way out to either side of the walls. You’ll notice the unevenness the more you work your way across the room, and the last row will almost look like a pizza place. There’s no need to worry; you can put down a row in the middle to split the unevenness in half.
Take out all the baseboards and casings
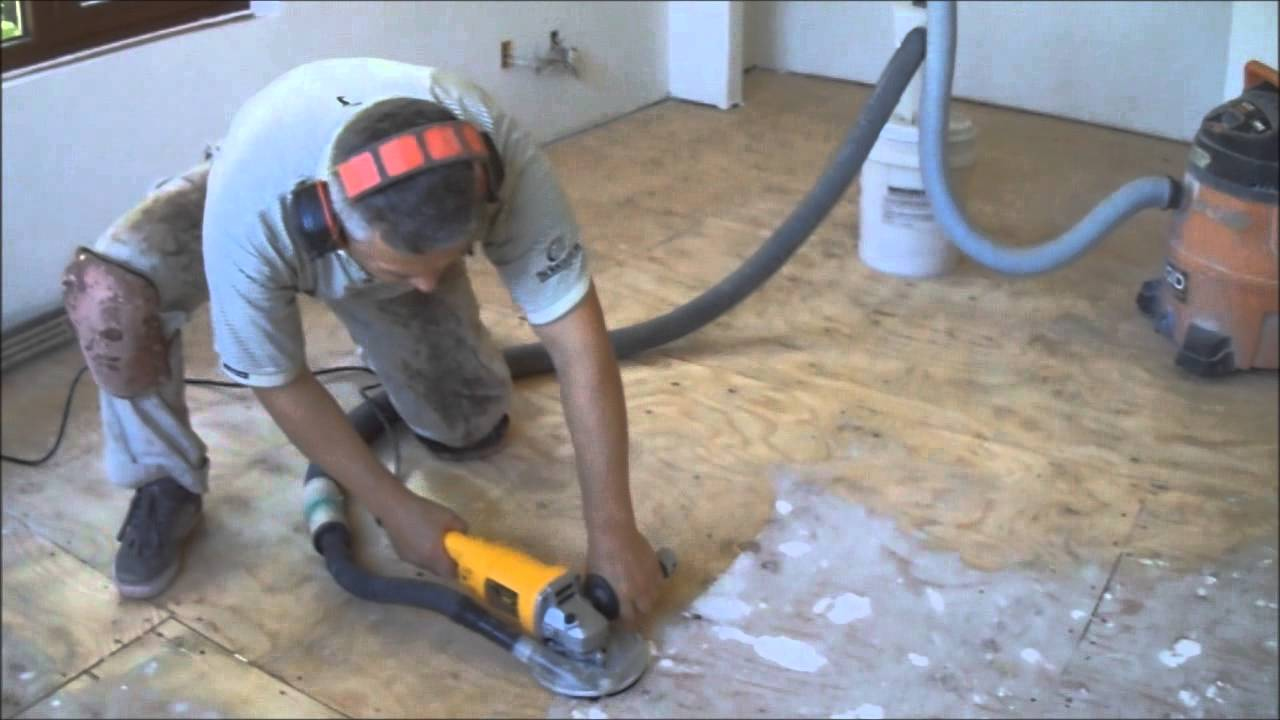
You’ll need to remove all baseboards and remove the door casings as well. To make it easier to install the flooring, you should remove all the trim that’s touching the floor. To get your tile to fit better, cut the plank with a handsaw or a utility knife. Run the knife or saw across the plank’s face a few times instead of trying to cut deeper grooves in it.
The next step is flipping the board so the finish surface will be face down, similar to when cutting drywall. Fold the plank to see if it snaps when it comes backward. If not, run the knife through the fold gently to get it to separate.
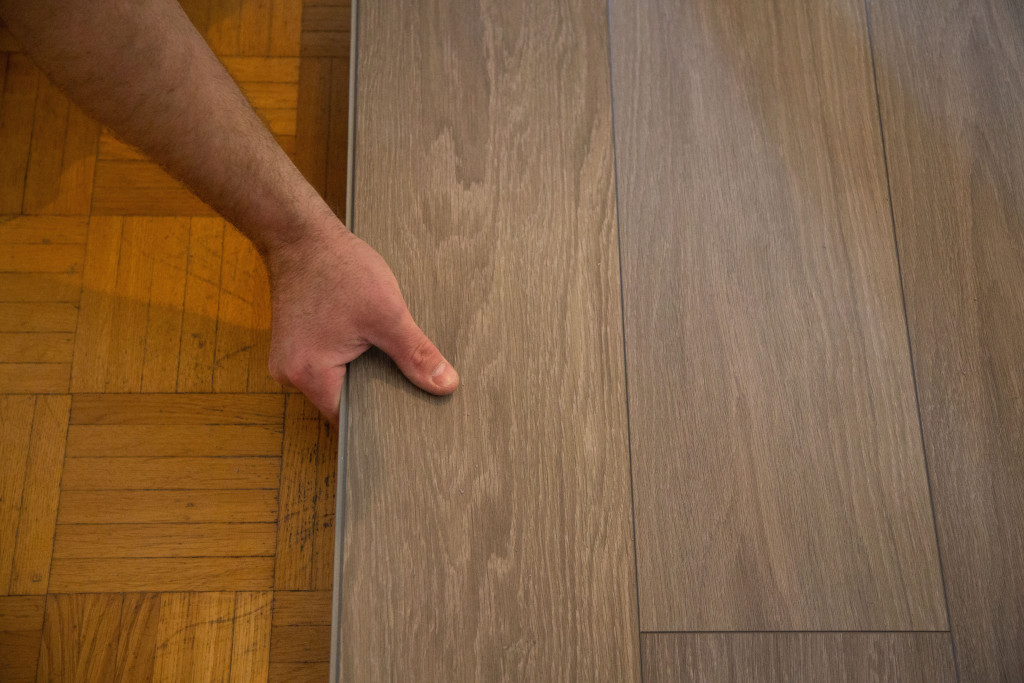
Connect the planks

You’ll want to connect all your planks in your first row before you begin the second row. Depending on the brand of planks, it can be hard to connect the planks, and you’ll need to do the short sides before starting the long sides. It can be helpful to have someone assist you during the process. Vinyl plank has the advantage of being able to make cutouts for any protrusions quickly. Tin snips or shop scissors can easily assist with this.
However, this won’t work well if you need to use the groove or tongue to attach to another row of planks. This is because of scissors mangling the groove or tongue and making an uneven fit. You should also note that side cuts will only work if the protrusion is on the plank’s long side as opposed to the short side. To connect the planks, angle the row between 10 to 15 degrees and then tilt it downward. If there’s a protrusion on the door trim, the board’s movement will be impeded.
When you have vinyl plank that’s snap-together, you can also go in a backward direction to install it. Usually, flooring can only go in one direction when it’s being installed. If the grooves are found on the leading edge of the row, you can only connect the remaining planks into grooves. However, vinyl flooring lets you connect to either the groove or tongue side.
After you lay the floor, reattach the trim and baseboards the way they were before. You can use an electric brad nailer to make this easier. When you hammer the nails, stress is created on the trim and baseboards, which dislodges them before they can be attached securely. Hammers can also crack the trim.
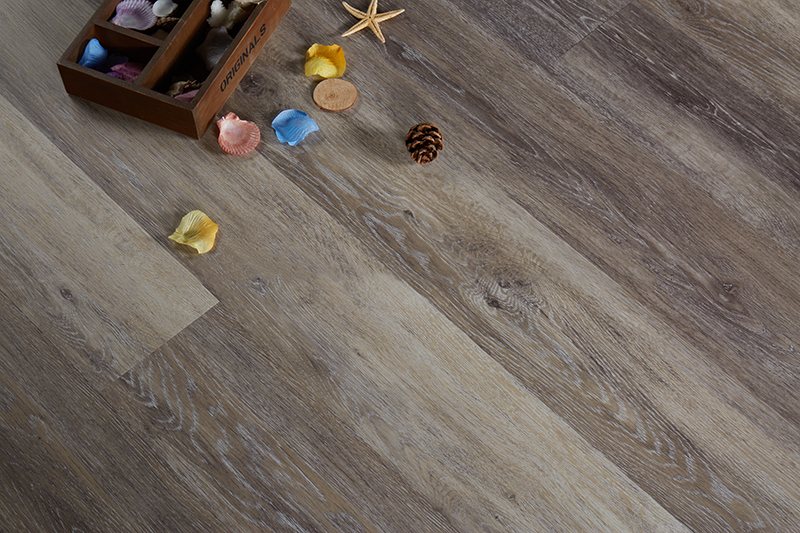
Vinyl flooring is something you can easily and quickly install yourself or with the assistance of another person. Many people love how it looks and how affordable it is. Knowing what steps to do in what order will make the process even smoother. Just make sure to always have enough material, so you don’t have to stop the project halfway to go get more at the store. It’s simple to lay down the flooring and connect them for a new floor.


 Wechat: +86-18712015551


 info@macesswood.com
View More(Total0)Comment Lists